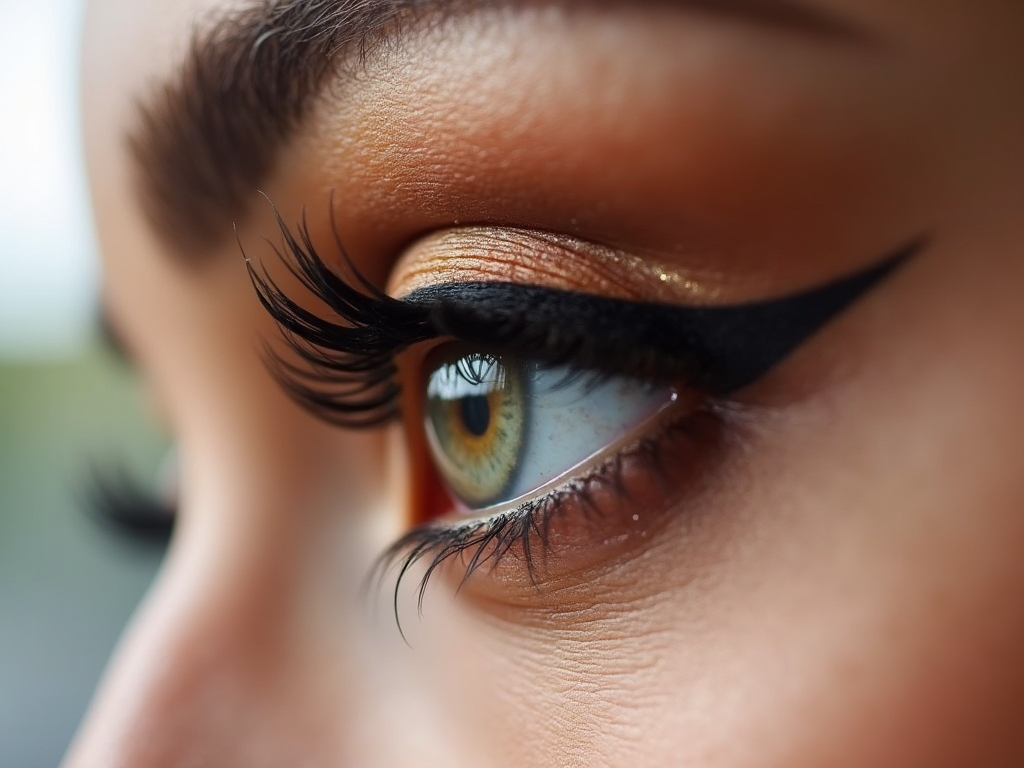
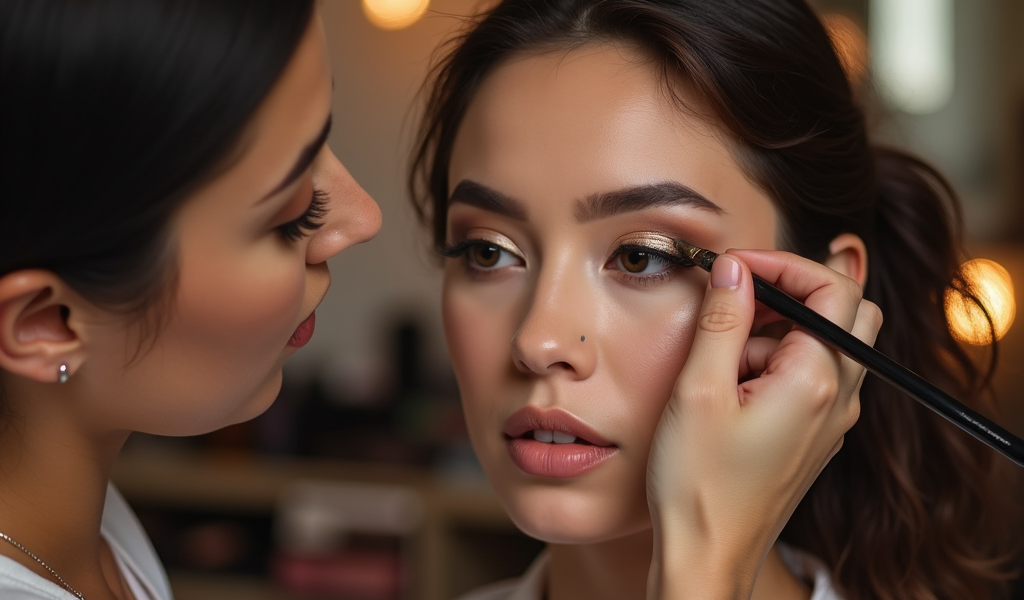
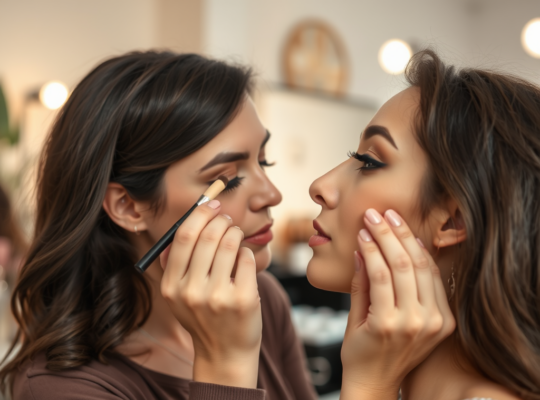
Mastering the art of a cut crease can instantly elevate your makeup game, giving your eyes a standout, dramatic look. Once deemed a technique only for makeup professionals, creating a cut crease is now achievable for anyone willing to learn. This article will guide you through the essentials of crafting a sharp and clean cut crease, covering the necessary tools, techniques, and tips that will leave you with a pro-level finish.
Understanding the Basics of a Cut Crease

A cut crease is a makeup technique that involves using contrasting eyeshadow shades to define and enhance the shape of your eyes. It is a powerful way to add depth and dimension, as the ‘cut’ delineates the crease of your eyelid, making it appear more defined. To achieve this look, knowledge of your eye shape is crucial, as it determines the placement of different shades and how you blend them. Knowing how to play with light and shadow allows for creating illusions that can either open up or downplay prominent features.
Gathering Your Tools and Products

Like any masterpiece, creating a cut crease requires an array of quality tools. Start with a set of good makeup brushes, including a few blending brushes, a flat concealer brush, and a thin eyeliner brush for precision. As for products, you’ll need a primer to ensure long-lasting wear, a light and dark eyeshadow, concealer, and a setting powder. Optional tools include eyeliner and glitter for those wishing to add extra flair.
Make sure your tools and products are suitable for your skin type, especially the eyeshadow primer and concealer, to prevent creasing and ensure smooth application.
Step-by-Step Guide to Achieving a Cut Crease
Here is a step-by-step guide to achieving a perfect cut crease:
- Prime Your Eyes: Start by applying a thin layer of eyeshadow primer to create a smooth base and intensify the eyeshadow colors.
- Apply Transition Shade: Use a blending brush to apply a medium-tone transition shade in and above the natural crease. This will help in blending shadows effortlessly.
- Define the Crease: Take a deeper shade with a precise brush and apply it directly onto the crease line, blending upwards for a gradient effect.
- Cut the Crease: Using a flat brush and concealer, carve out the crease line, covering everything beneath it up to the lash line.
- Set and Detail: Set the concealer with a light shadow or setting powder, then add any additional details like liner or glitter.
Patience is key, so take your time with each step to ensure precision and avoid any smudging or uneven lines.
Creating a cut crease can be challenging at first, but understanding common pitfalls can help you perfect your technique. If your eyeshadow appears patchy, it’s likely a blending issue. Ensure that you use a high-quality primer and blend the transition shade thoroughly. If the crease line isn’t sharp, the concealer might not be applied properly. Always use a flat brush for precise application and clean up any edges with makeup remover or a cotton swab. Additionally, if you notice creasing, it might be due to using too much product, so start with small amounts and build up as needed.
Conclusion
Achieving a flawless cut crease doesn’t just enhance your natural features, but also boosts your confidence by giving you a striking and polished look. By following these steps and tips, you can transform the way you wear eyeshadow and leave a lasting impression. Practice makes perfect, so don’t be afraid to experiment with different colors and styles that suit your unique eye shape and personal style. With time and patience, you’ll master the cut crease like a total makeup pro.
Frequently Asked Questions
1. What is the best eyeshadow for a cut crease?
Matte eyeshadows are best for creating the illusion of depth in a cut crease. They help in building a gradient effect and stand out when used for defining the crease.
2. Can beginners achieve a cut crease?
Yes, beginners can achieve a cut crease with some practice. It’s essential to start with simple designs and gradually work up to more complex patterns as you become comfortable with the technique.
3. How do I keep my cut crease from smudging?
The key to a smudge-proof cut crease is using a good primer and setting your eyeshadow with a translucent powder. Additionally, avoid touching your eyes throughout the day.
4. How can I make my cut crease look more dramatic?
To make your cut crease look more dramatic, consider using bold colors, adding glitter or metallic shadows, and incorporating sharp winged eyeliner.
5. What are common mistakes to avoid when doing a cut crease?
Common mistakes include over-applying products, not blending thoroughly, and ignoring your natural eye shape. Always work with light layers and blend well to avoid harsh lines.


